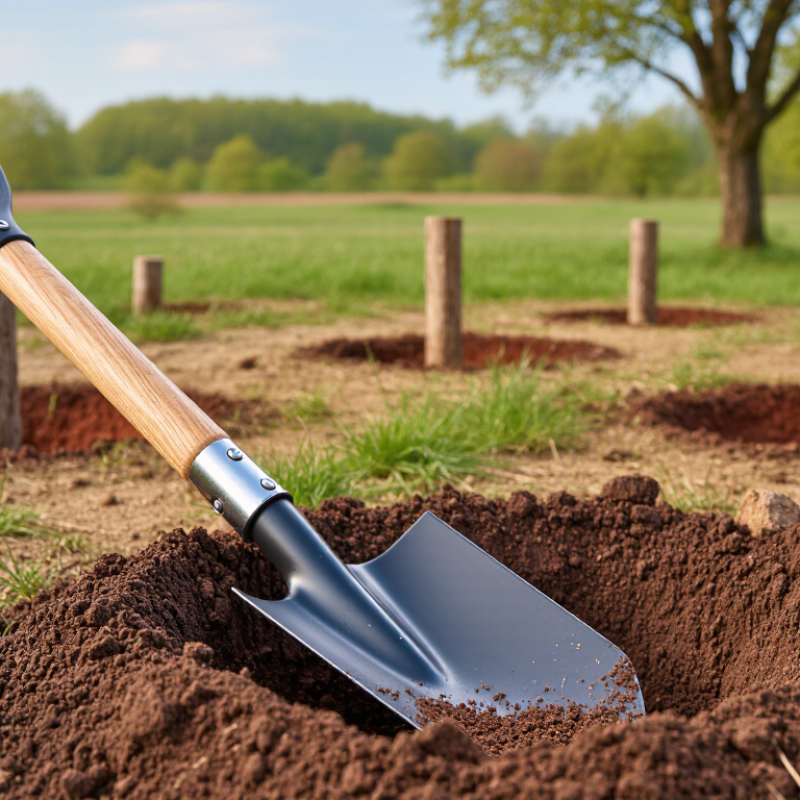
| 1 | Match the blade shape to the soil | Pointed or narrow blade for compact soil; rounded blade for loose soil | Clay, rocky ground, garden soil, and prepared beds | A pointed edge penetrates firm ground more effectively, while a rounded blade moves loose soil smoothly. |
| 2 | Choose the correct blade width | Approximately 10–15 cm for narrow post holes; 15–20 cm for larger holes | Fence posts, sign posts, mailbox posts, and small planting supports | The blade should fit the planned hole diameter without removing excessive soil. |
| 3 | Consider blade depth | Long, narrow blades for deeper digging; medium-depth blades for shallow installations | Deep fence posts and planting holes | A deeper blade can lift soil from the bottom of a hole while reducing the need for repeated repositioning. |
| 4 | Evaluate blade material | Heat-treated or forged steel with a corrosion-resistant finish | Frequent digging and hard, abrasive soil | Steel provides the stiffness and wear resistance needed for levering and breaking compacted soil. |
| 5 | Select a suitable handle length | Approximately 90–120 cm for general digging; shorter handles for confined spaces | Open yards, garden beds, and areas near walls or utilities | A longer handle improves leverage, while a shorter one offers better control where space is limited. |
| 6 | Check grip comfort and control | Textured, non-slip grip with a comfortable hand position | Long digging sessions and wet or muddy conditions | A secure grip helps reduce hand fatigue and improves control when lifting or prying soil. |
| 7 | Balance weight, strength, and maintenance | Strong construction with a manageable working weight; clean and dry after use | Routine property maintenance and repeated post installation | A well-balanced shovel is easier to control, while basic cleaning and drying help limit rust and extend service life. |