How to Choose the Right Sealing Compound?
Choosing the right Sealing Compound protects joints from water, air, vibration, chemicals, and temperature changes. The wrong product may harden, shrink, stain nearby materials, or fail after repeated movement. A neat bead is not proof of long-term performance.
Industry data shows why this decision deserves careful attention. Grand View Research’s Sealants Market Size, Share and Trends Analysis Report forecasts continued global market growth through 2030, driven by construction, automotive, and infrastructure demand. MarketsandMarkets also identifies silicone, polyurethane, and acrylic technologies as major product categories. These reports indicate a competitive market, but they do not make every compound suitable for every joint. Application conditions still matter more than popularity.
Start with the joint itself. Measure its width, depth, movement, and exposure to sunlight or standing water. Check whether the surface is concrete, glass, metal, painted steel, or a porous substrate. Then review technical data sheets for adhesion, service temperature, curing time, chemical resistance, and movement capability. ASTM C920 and ISO 11600 provide useful performance frameworks for elastic sealants. For building applications, EN 15651 can also support product selection in relevant European projects.
Small details matter. A dusty joint can defeat an expensive compound. A damp surface can delay curing. Primer may be necessary. Test first.
There is no universal best formula. That assumption deserves challenge. Even experienced installers can overlook substrate contamination or joint design. This guide therefore combines manufacturer data, recognized standards, and practical job-site judgment. Reliable selection means matching the Sealing Compound to the joint’s actual environment, not merely choosing the cheapest tube or the strongest marketing claim.
What Is a Sealing Compound and Where Is It Used?
How to Choose the Right Sealing Compound?
What Is a Sealing Compound and Where Is It Used?
A sealing compound is a paste, liquid, or gel that closes joints, gaps, and threaded connections. It blocks water, air, dust, chemicals, and unwanted vibration. Common applications include windows, concrete joints, plumbing, vehicle assemblies, electrical enclosures, and industrial pipelines. The right compound depends on the surface, temperature, pressure, movement, and chemical exposure.
Grand View Research reported that the global sealants market was valued at approximately USD 10.8 billion in 2023. Its report also projects continued growth through 2030, driven partly by construction and transportation demand. This growth does not make selection easier. A product that performs well on metal may fail on glass, painted surfaces, or flexible plastics. ASTM C920 classifications can help verify movement capability and performance. Still, testing the actual joint remains more reliable than reading a label alone.
Tips: Clean and dry the surfaces before application. Check the technical data sheet for curing time and service temperature. Leave enough space for movement. A thicker bead is not always stronger. In field inspections, many failures begin with poor surface preparation, not the compound itself. I have also seen a perfectly smooth seal fail after repeated expansion. That detail is easy to overlook. When conditions are uncertain, test a small joint first and record the result.
How to Test, Apply, and Maintain the Selected Sealing Compound?
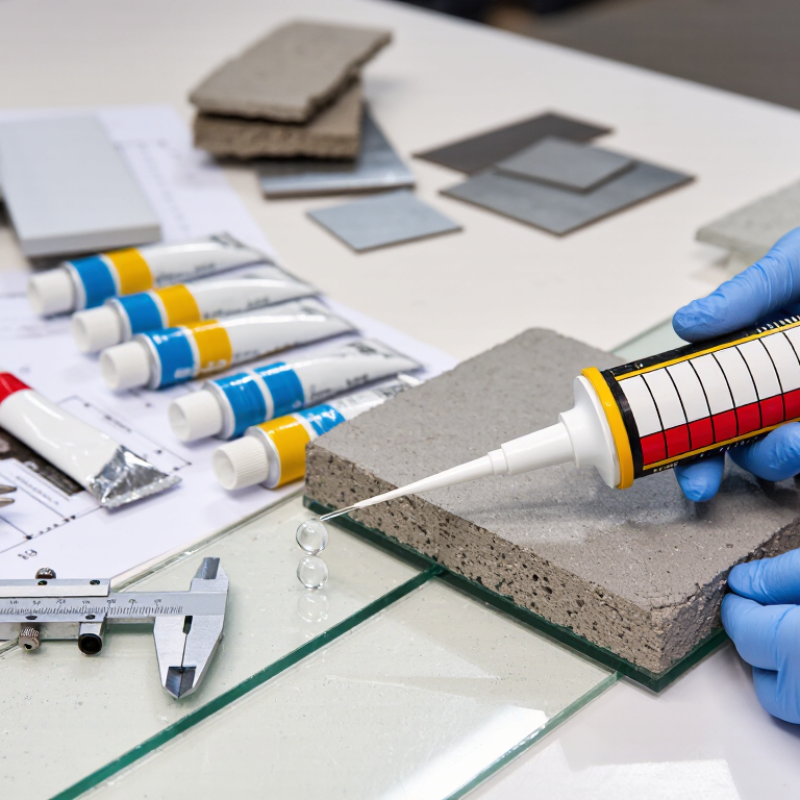
Before applying a sealing compound, test it under realistic conditions. I usually prepare small samples on the actual substrates, such as metal, glass, or painted surfaces. Clean one sample carefully and leave another slightly contaminated. This reveals how sensitive the compound is to preparation. Check adhesion after curing, then inspect the bond for peeling, bubbles, or soft edges. Test temperature, moisture, movement, and pressure when the joint will face those conditions. A simple trial can prevent an expensive repair.
Application requires patience and control. Remove dust, oil, loose coating, and standing water unless the product instructions allow moisture. Confirm the surface temperature and curing conditions from the technical data sheet. Apply a continuous bead with steady pressure. Avoid trapping air. Tool the surface with a clean, compatible tool before skin formation begins. I have learned that rushing this step often creates weak corners. Wear suitable protective equipment and provide ventilation according to the safety documentation. Do not rely on appearance alone.
Maintenance should begin after full curing, not immediately after installation. Record the application date, batch information, weather, and observed defects. Inspect joints at planned intervals, especially around corners, fasteners, and areas exposed to vibration. Look for cracking, discoloration, shrinkage, or loss of adhesion. Small defects should be assessed before moisture enters the joint. However, inspection methods are not perfect. A firm surface can hide internal separation. When results seem uncertain, remove a small section for closer examination and repeat the compatibility test before resealing.