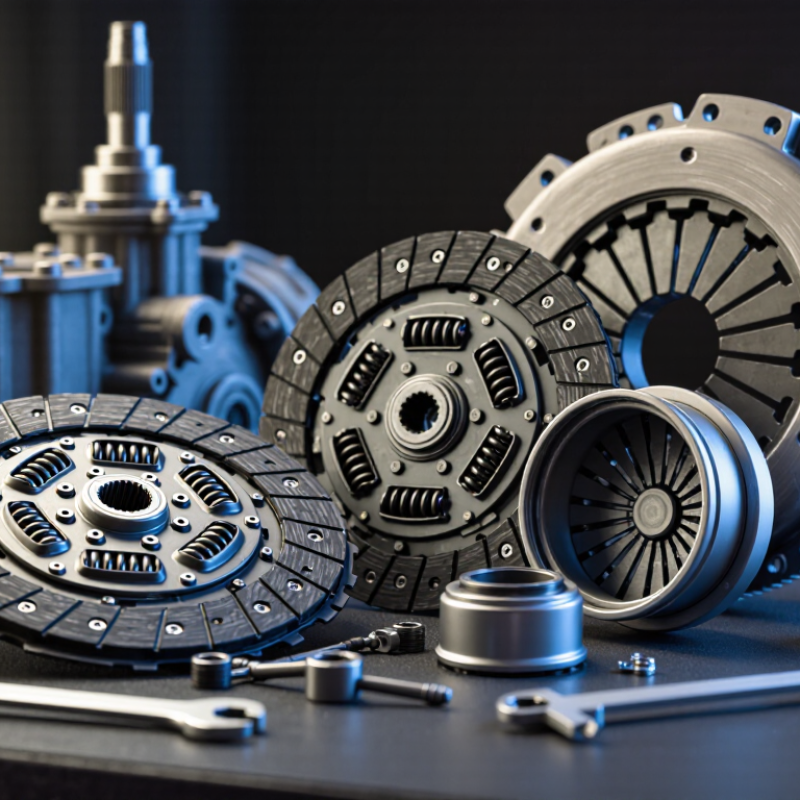
| Clutch Disc Diameter | 240 mm nominal outside diameter; actual measured diameter may vary slightly by application. | Confirm the vehicle or transmission specification and compare the old disc with the replacement disc. | Select a 240 mm kit only when the vehicle application and transmission configuration require this size. |
| Spline Compatibility | Spline count, shaft diameter, and hub profile are application-specific and are not standardized by disc diameter. | Match the disc hub to the transmission input shaft. Do not rely on 240 mm diameter alone. | Use the exact vehicle catalog specification or verify the dimensions with precision measurements. |
| Flywheel Type | Common configurations include solid flywheels and dual-mass flywheels; the clutch kit must match the installed system. | Identify the flywheel type, mounting pattern, friction-surface condition, and whether conversion parts are required. | Do not mix components designed for different flywheel systems unless the complete conversion is specified. |
| Pressure Plate Mounting | Bolt-circle diameter, bolt count, dowel locations, and cover height vary by vehicle application. | Compare the mounting holes and locating dowels with the flywheel before installation. | Reject any kit with an incorrect bolt pattern or cover alignment, even if the disc diameter matches. |
| Engine Torque and Usage | Torque capacity must exceed the engine's peak torque with an appropriate safety margin; frequent towing and stop-start driving increase clutch load. | Consider engine output, vehicle weight, towing frequency, traffic conditions, and any performance modifications. | Choose the specified torque rating for the application rather than selecting solely by disc diameter. |
| Friction Disc Condition | A serviceable disc should have even, dry friction surfaces and securely riveted, undamaged friction material. | Look for oil contamination, glazing, cracked linings, loose rivets, heat discoloration, or worn torsion springs. | Replace the disc if contamination or structural damage is present; identify and repair the source of any oil leak. |
| Pressure Plate Condition | The diaphragm fingers should be even in height, without heavy wear grooves, cracks, or heat distortion. | Inspect the friction face and diaphragm fingers for blue spots, scoring, uneven contact, or weakened spring action. | Replace the pressure plate when wear or thermal damage is visible; resurfacing is not a substitute for a damaged pressure plate. |
| Flywheel Surface | The friction surface should be flat, clean, and free from deep grooves, cracks, and severe heat checking. | Measure for excessive runout and inspect for hot spots, scoring, oil contamination, and uneven wear. | Machine or replace the flywheel only within the manufacturer's allowable specifications and verify the final surface height. |
| Release Bearing | The bearing must match the clutch release system, guide diameter, and operating mechanism. | Check for rough rotation, noise, looseness, grease leakage, and incorrect contact height. | Install a new release bearing with the clutch kit unless the existing bearing is specifically approved and confirmed serviceable. |
| Pilot Bearing or Bushing | Required on applications where the transmission input shaft is supported at the crankshaft or flywheel. | Check the inner diameter, outer diameter, width, fit, and signs of noise or excessive play. | Replace it when worn, dry, seized, or included as part of the specified service kit. |
| Hydraulic or Cable System | Clutch operation depends on correct cable adjustment or hydraulic travel, depending on vehicle design. | Inspect the master cylinder, slave cylinder, hydraulic lines, cable, fork, pivot, and pedal mechanism for leaks or excessive wear. | Repair system faults before fitting the new kit and bleed the hydraulic system where applicable. |
| Installation Tools | Typical requirements include a clutch alignment tool, torque wrench, transmission support, suitable sockets, and cleaning solvent. | Confirm access to safe lifting equipment, correct torque data, alignment equipment, and any application-specific tools. | Do not begin installation without stable vehicle support and the correct tightening specifications. |
| Fastener Installation | Flywheel and pressure-plate fasteners require application-specific torque values and tightening sequences. | Check whether bolts are torque-to-yield, inspect threads, and verify the specified tightening pattern. | Use the prescribed fasteners, tighten in stages and sequence, and never guess torque values. |
| Cleanliness and Lubrication | Friction surfaces must remain dry and free from oil, grease, fingerprints, and anti-seize compound. | Clean the flywheel and pressure plate with a residue-free brake cleaner; lubricate only specified splines and contact points sparingly. | Remove excess lubricant and keep all friction surfaces completely dry before assembly. |
| Post-Installation Check | The clutch should engage progressively without persistent slipping, vibration, abnormal noise, or difficult gear selection. | Verify pedal operation, release travel, hydraulic leaks, gear engagement, and fastener security before road testing. | Perform a controlled road test and follow the kit's bedding-in guidance, avoiding excessive slipping during the initial running period. |